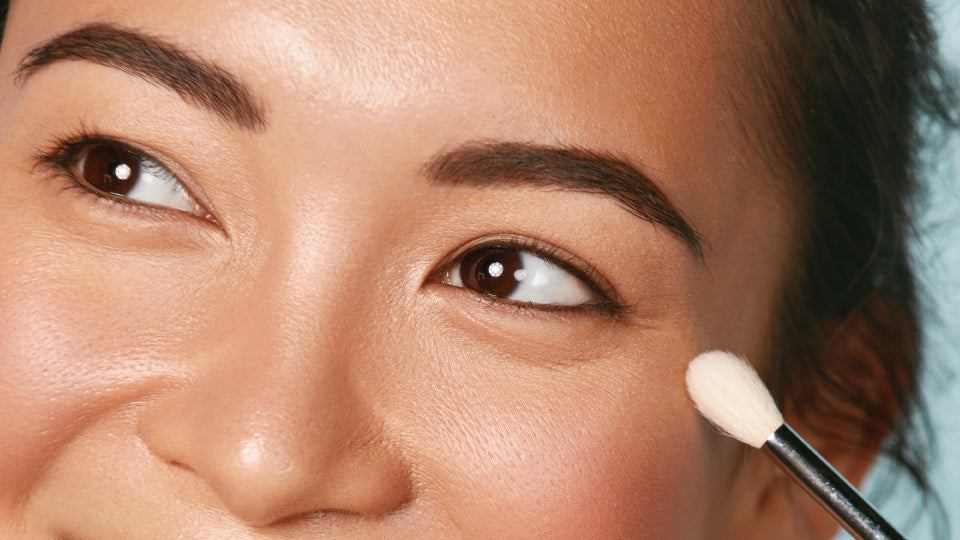
Hooded eyes. Let’s talk about them and how to apply eyeshadow in order to compliment the eye shape. If you’re not familiar, a hooded eye is a specific eye shape that has very little to no visible crease, and is very brow bone heavy. Since the eyelid is not visible it can be challenging to apply eyeshadow the way in which those with a visible eyelid who can use the eyelid space as the main focal point for their eyeshadow placement.
A hooded eye shape can be difficult to apply eyeshadow to if you’re trying to apply it going by today’s current trends! A cut crease doesn’t exactly flatter this eye shape, and let’s face it, it’s not really an everyday look anyway. While it’s not impossible, approaching any makeup look with a hooded eye requires thinking differently when it comes to where you are placing the eyeshadow. Visibility is the goal, and this simple eyeshadow placement is perfect for wearing everyday, and also bumping up to a dramatic look just by adding darker shades and darker shimmer.
With that said, here is a basic placement tutorial to help you learn how to apply eyeshadow in a way that flatters and emphasizes your eye shape.
STEP ONE: Eyeshadow primer
You’ll definitely need a base to protect your eyeshadow from moving to places it doesn’t belong. Hooded eyes tend to have more eyeshadow creasing, and a good primer can prevent that from happening.
My go-to: Urban Decay’s Primer Potion in Original $24
This amazing formula is colorless, so you can even wear it alone to prevent oils from traveling around your eyes. Since our eyes tend to collect oils on the outer creases of our eyes, applying a primer all the way down the eye helps protect your face makeup, too.

STEP TWO: Choosing eyeshadow shades
Pick three basic shadows— a matte nude, a middle “transition” shade, and a dark shade. Typically one would choose earthy, natural colors like browns and tans, but this standard application will work with any trio of colors! For simplicity sake, let’s go with this trio of shadows by Smashbox.
My go-to: Smashbox Photo Edit Eyeshadow Trip in Nude Pic Light $23
This palette literally does all of the guess work for you when it comes to choosing what three colors to use on your eye!

STEP THREE: Applying the first shadow, nude
The nude shadow will be the key eye opener for the inner part of your eye. Apply it starting from the inner corner, and take it all the way to the center, past the eyelid and all the way up to the brow bone.
TIP: Make sure to blend! This is a smokey look, so tons of blending is required.
STEP FOUR: Applying the middle shade
For this next step you will want to use the transitional shade on the center of the eye, blending it ever so slightly into the nude eyeshadow. Start at the base of your eye, bringing it past the eyelid, up to the brow bone and BLEND BLEND BLEND! Transition shades are usually unnoticeable once the completed look is applied. This shade is crucial for creating the smokey effect on the eye, helping to make your eyeshadow placement flow from light to dark seamlessly.
TIP: I like to take a clean, fluffy eyeshadow brush for this step and use that to blend out my colors. This way, I’m not adding more shadow to my blend until I’m ready.
STEP FIVE: Applying the dark shade
This eyeshadow shade will be applied at the outer corner of the eye and might be the trickiest part of the entire look, so take it slow, and start with a small amount of shadow. (Don’t forget your new trick of using a clean eyeshadow brush to move the colors around without adding more shadow or pigment!) Blend into the transitional shadow and bring it up a bit past the eye crease, similar to the transitional shade. This horizontal smokey eye is incredibly flattering on hooded and monolid eye shapes.
TIP: If you’re in the mood for a more glam/evening look, try applying a dark eyeshadow on the eyelid, and blend it up toward the beginning of the crease/brow bone area. Use a light nude shade starting from the brow bone and go down, blending into the darker shade. Add a bit of shimmer eyeshadow to the center of your eyelid for a pretty glimmer every time you blink! I love using a liquid eyeshadow for this, as it gives off the most beautiful impact.
My go-to: Kevin Aucoin Kaleidochrome Cream Foil Trio in Euphoric $20