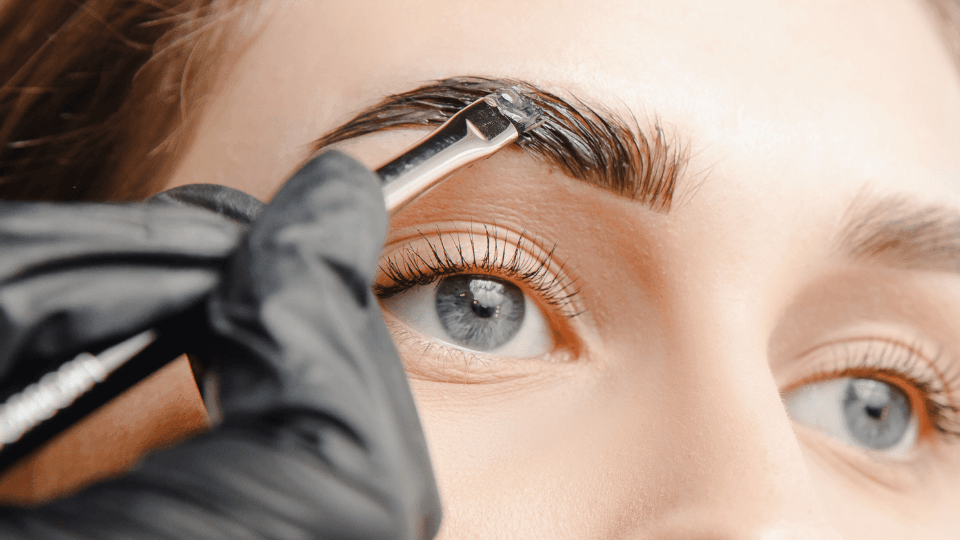
We’re going to break down the perfect eyebrow shaping guide in 4 easy steps.
The DIY Brow Cocktail
Beautifully shaped brows can create a frame for the face and will complete your look. Eyebrows are unique and because of that everyone’s are different. It’s important to remember too that no eyebrows are perfectly alike (unless you are a beautiful model with a perfectly symmetrical face - annoying, I know, but they only exist because of makeup artists). Following these easy steps will help you out!
STEP ONE: Figure out where your eyebrows should start.
You can do this by drawing an invisible line from the outer sides of your nostrils to your brows. This is where you want your brows to begin. Too close and you have a unibrow, too far and people may think your brows are in the middle of a nasty divorce.
STEP TWO: Determine where your arch should go.
To figure this out, place your brow pencil along the outer edge of your nose and line it up through the iris. The arch doesn’t have to be too high, unless you are going for that always surprised look. Remember, natural brows are in!
STEP THREE: Determine where your brow will end.
Line your pencil up next to your nose again and angle it to point along the end of your eye. This is where your eyebrow should end. Any further than the corner of your eye
STEP FOUR: Fill them in!
I love to utilize a skinny, retractable brow pencil to create small, thin strokes that look like natural brow hair. Be sure to take full advantage of the spoolie located on the end to soften any hard lines. I also love a bushy brow. I use a clear brow gel to brush them in an upward motion so that they are secure. Using a clear brow gel can also help soften the brow as well. Want that microbladed look? I suggest using a thin brow marker and creating small flicks that give the illusion of hair.
Now! Onto some of my favorite brow products:
My go-to brow pencil: NYX Micro Brow Pencil ($10)
I love that I can use this pencil to map out my eyebrows as well as fill them in for a natural, hair-like look that isn’t too thick. The spoolie on the end is perfect for softening any harsh lines.

My go-to brow gel: ColourPop Brow Boss Gel ($7)
The price point of this brow gel is amazing. It comes in a variety of colors, but I am a big fan of the clear gel. If you are looking to cover any gray hairs then I suggest getting a color that matches your brows and will conceal those pesky grays!

My go-to detailing pen: Glossier Brow Flick ($18)
I love this product in order to achieve a fuller feel. I utilize it throughout the entire brow. It has a thin applicator that allows it to mimic the look of natural brow hairs.

REMEMBER: Don’t overpluck!! Use the hairs that you have to create a shape you like. I personally like to shape my brows and then go in to pluck any strays that don’t compliment the brow that I just created. You also have to remember too that whatever you pluck is gone and isn’t growing back anytime soon. As we age our eyebrow hairs change and grow back slower and sometimes don’t grow back at all! So be careful and work with what you have without removing what you may need in the future. You can always brush your brows up and trim any hairs that are out of place or do not fit into your natural brow shape rather than pluck as well. Creating the perfect brow takes trial and error. The more you play, the more you will figure out what products and brow shape works best for you! Following this eyebrow shape guide will help you get started.
You got this, happy brow shaping!