If there’s one thing that would keep a lash virgin from getting their first pair of semi-permanent lashes, it would be maintenance. Not really the maintenance itself, but more the lack of knowledge on the how-to of it all. Starting a new habit can be a little intimidating at first, especially when it comes with a variety of added tasks that you may have never had to do before.
When it comes to semi-permanent lashes, unlike their temporary counterparts, there’s a bit more involved in weekly care than you might think. But rest assured, not a single one of those upkeep tasks takes more than a few moments, and they can be done by lash veterans and lash newbies alike. If you feel like you're up a creek without a paddle here, there’s no need to worry!
All you need to start and maintain your semi-permanent lash era are a few easily accessible tools (some of which you might already have in your possession), a fresh set of our lashes, and the guide we’ve already provided for you below. Now you have no excuses not to launch yourself full tilt into the wonderful world of Lashify lashes.
When you have the confidence and know-how to wear your lashes the right way, it truly transforms your final look, whether that’s full glam or bare-faced on the weekend. You’ve got this in the bag, and we’ve got you covered here at Lashify®. If you’re feeling reassured and ready to tackle your next beauty challenge, keep reading for all things lash care.
How Are Lash Extensions Applied?
Most lash lovers will be familiar with the application of temporary lashes. These lashes come in one solid lash band where the shape and look of the lashes mimic the look and feel of your natural lashes — only more glam.
Let’s Start With Lash Strips
To apply these, all you have to do is trim the band to fit the length of your unique eye, bend the band to form to your eye, and apply the lash glue. Once that’s had time to turn tacky to the touch, gently press the lash band from the middle where you desire it on your lash line, pressing the inner and outer corners into place once you’re satisfied with the placement.
To finish, curl or brush your natural lashes below up into the falsies to seamlessly blend the two into one perfect finished product. Even lash first-timers would find this pretty intuitive, although it might take them a few more tries than the lash veteran.
What About Semi-Permanent Lashes?
With semi-permanent lashes, a lash innovation that’s only become as popular as it is in the last few years, the application process is a lot more involved. Most people will go to a certified lash technician and pay a hefty sum of money every six to eight weeks to have semi-permanent lashes redone, which is a safe way to get your lash fix.
However, with Lashify, we strive to empower lash enthusiasts to achieve this desired fix on their own, at home, at a fraction of that price.
Semi-Permanent Application DIY
If you venture to a lash technician or lash salon for your lashes, you might not understand the process, so for this DIY guide, we’ll dive deep into the at-home application of Lashify lashes. It’s a unique process to Lashify, but it’s made so easy and accessible with our patent seals, bonds, Gossamers®, and application tools.
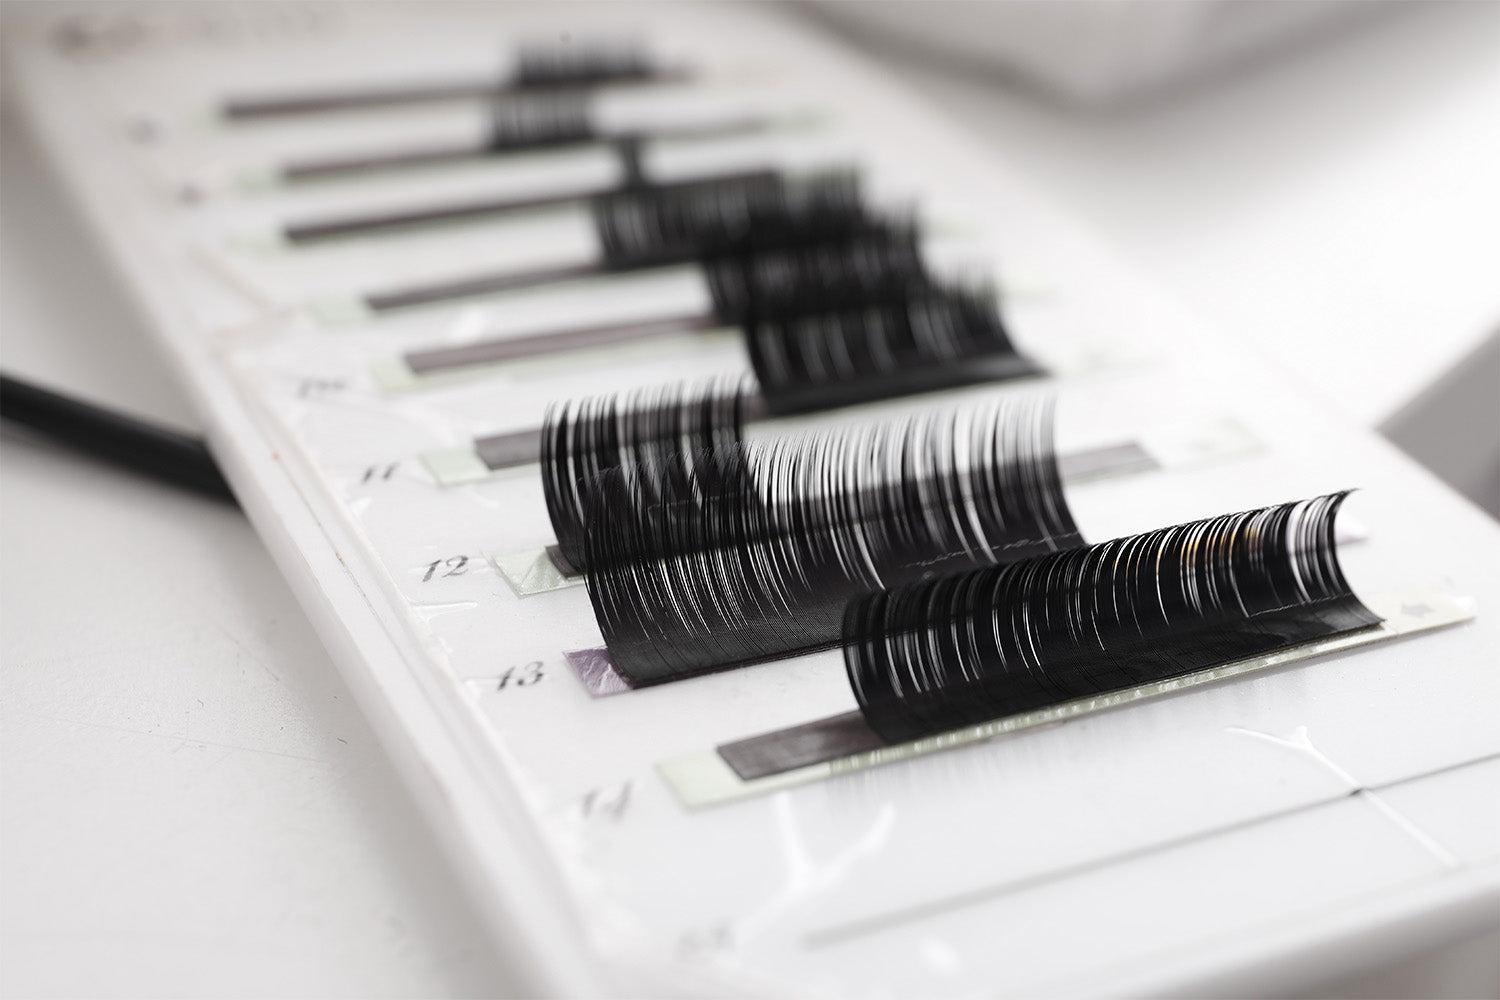
With your brand new Gossamer set, you’ll notice that these semi-permanent lashes come in multiple, individual “bundles” of lash fibers instead of one collective band. These are meant to melt into the underside of your natural lashes instead of on top to give you a seamless and long-lasting glam lash look.
To start, you’ll need one of our lash bonds. This will glide over your natural lashes like mascara would and serves the purpose of the glue for semi-permanent lashes. Wait until this bond has gone slightly tacky before you begin applying the lashes. Once it is, you can take the individual pieces of Gossamer and place them against the underside of your lash line, once again starting from the middle and working outward.
Take your time here, especially if you’re still new to lash application. This can take a bit to perfect, so don’t be too hard on yourself if the process doesn’t stick right away. Keep slowly placing the Gossamers until you’ve reached your desired volume with your chosen lashes. Once you have, you’ll want to take one of our lash seals and apply a top coat to your applied lashes, just like mascara again.
Once this has dried down completely, your lashes should be set and ready! The only thing left to do after applying the lashes is to keep them clean and fresh throughout your weeks of enjoyment. Here’s how.
Details of the Deep Clean
The deep clean and maintenance of lashes can be quick and painless. However, it is so incredibly necessary to keep track of because the pitfalls you could fall into if you leave your lashes uncared for will have you drowning in regrets.
Your money will be wasted, the lashes won’t stay strong and long, and you could even run the risk of inviting irritation or infection into your life (and that’s no fun). Take note of our tips and tricks on how to properly care for your lovely lashes below to avoid these potential snags on your lash journey.
Lash Care Guide
There isn’t necessarily a daily routine you need to be following to upkeep your lashes unless you struggle with particularly oily lids. Mostly, these care tips should be practiced when you feel it is needed or at least two or three times a week to completely eliminate the risk of their damage.
In order to keep healthy, happy lashes on your side:
- Avoid water. For up to 24 hours after your initial application, you should avoid getting them wet at all. This could break down the bond prematurely and leave you with lashes that don’t hold up.
After 24 hours, you want to be careful with water, making sure that you always let your lashes dry completely before you make any adjustments or use any other products.
- Don’t touch your lashes. If you’re excessively fidgeting with or touching your bonded lashes, this could also result in the breakdown of the lash bond. The oil from your skin will work against the glue holding it all together. The last thing you want for your long-lasting lashes is for them to not last long at all. So put those hands down!
- De-clump your lashes. This is important if you want to avoid clumps of your Gossamers over the course of their wear. Use a clean and dry spoolie or lash brush to carefully separate any clumps and reintegrate your natural and fake lashes.
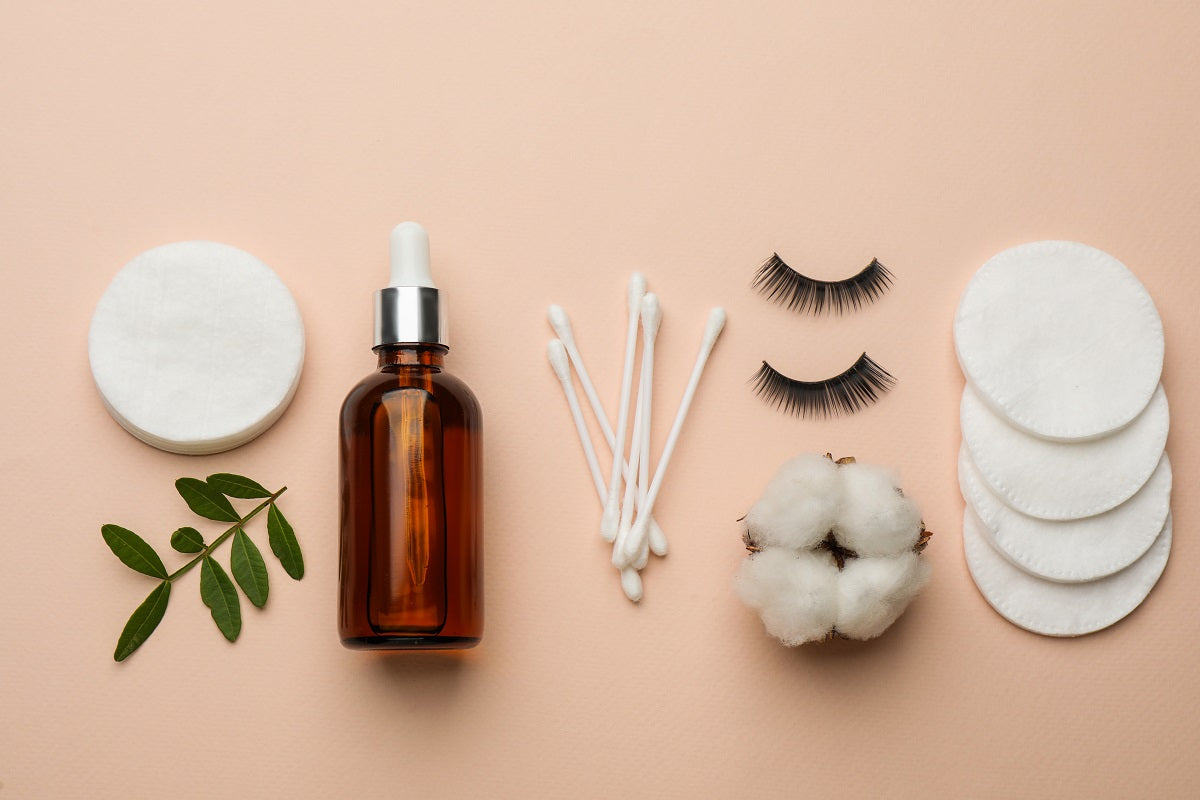
- Use the proper tools to clean. When you’re going in to clean your lashes, take a clean cotton swab and our Pre-Cleanse solution and gently run the swab along your lashes to remove the buildup of any oils, dirt, or product. If you’re experiencing any lifting of your lashes, use the Fuse Control® Wand to press the lashes back into place for three to five seconds.
If you regularly maintain your lashes with these dos and don’ts, your Lashify experience will be one you want to have over and over again. If you felt any reservations about committing to your first set of lashes before, we promise it’ll be second nature in no time.
So Fresh and So Clean
We know there are a million reasons not to try something out. The expectations for everything that could go wrong are scary, and we’ve all been there. But we hope that with the help of these simple guides, wearing out your dream lashes won’t be among those scary things.
We have the know-how, tools, and passion to help people just like you get started on their lash journeys or continue them in a brand-new and refreshing way. The innovations that Lashify offers for at-home lash enhancement will have not only your lashes thanking you but your wallet too.
Imagine how stress-free and exciting it could be to have all the lashes you could ever want at your disposal right at home. It can be as easy as 1, 2, 3, if you’ve got the right tools in your bag and the right DIY knowledge in your head.
We can’t wait to see how you rock your new lashes in the way only you can.
Sources:
Curious About Eyelash Extensions? Here’s What You Should Know | NY Times
Here's How to Clean and Care for Your Eyelash Extensions | Byrdie
Eyelash Extensions 101: Everything You Need to Know Before Your Appointment | Cosmopolitan