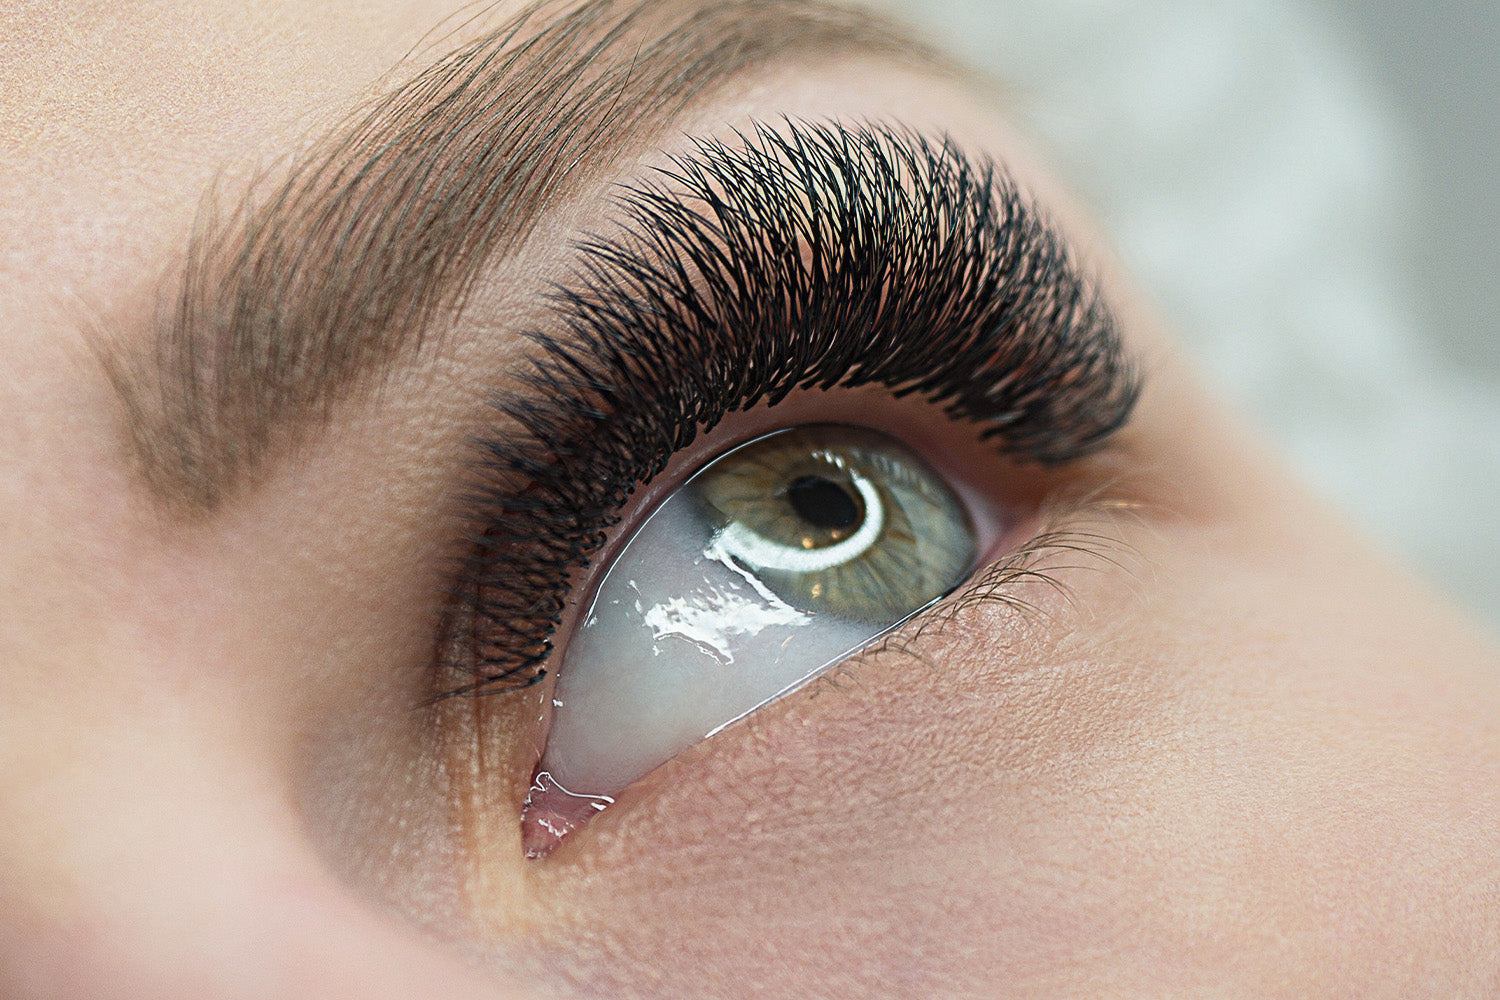
Did you know that there is more than one eye shape? There are six, to be exact: rounded, hooded, monolid, almond, upturned, and downturned. This isn’t even to mention all the variations your eye shape could come in: wide set, close set, protruding, or deep set. Ask any eye makeup artist, and they’ll tell you the same thing.
Depending on your unique eye shape, the placement of both temporary and semi-permanent Lashify® eyelash extensions will look different. Let’s break down the step-by-step basics of DIY synthetic lash placement to allow you to perfectly apply a full set of fake lashes to any eye at any time.
Temporary Falsie Placement: A Quick Tutorial
The most basic principle of lash application to learn is for your average temporary lash. This is the most common style of lash that you’ll find in TikTok and YouTube lash tutorials.
These strip lashes come in different lengths that mimic the shape of your natural lashes. When you receive a fresh set of temporary false eyelashes, you’ll want to make just a few minor tweaks to ensure these false lashes fit and flatter your eyes the best they can.
Without any adhesive applied, place the lash against your natural eyelash line, starting with the outer corner of the lashes to your eye. See how much the inner corner of the lash band passes the inner corner of your actual eyeball and general eye area, and take note.
Remove the falsies and trim the lash band down to fit the length of your eye and achieve a natural look — how much you have to trim will likely vary based on your eye shape and size.
Once you have both lashes trimmed to fit, you’re ready to start the application process. Take whatever lash adhesive you have and gently apply a thin layer to the lash band. As it begins to dry, take both edges of the lash and bend them to force the lashes into a more natural curled lash shape.
Wait for the lash glue to dry down to a tacky state and lay the lashes as close to your natural lash line as you can, this time securing it in the middle of the lash band before pressing down the edges. Make whatever minor adjustments you need, and allow the lashes to dry down fully.
Violá! You have a perfect pair of falsies that would make a lash artist proud.
Lashify Lash Placement
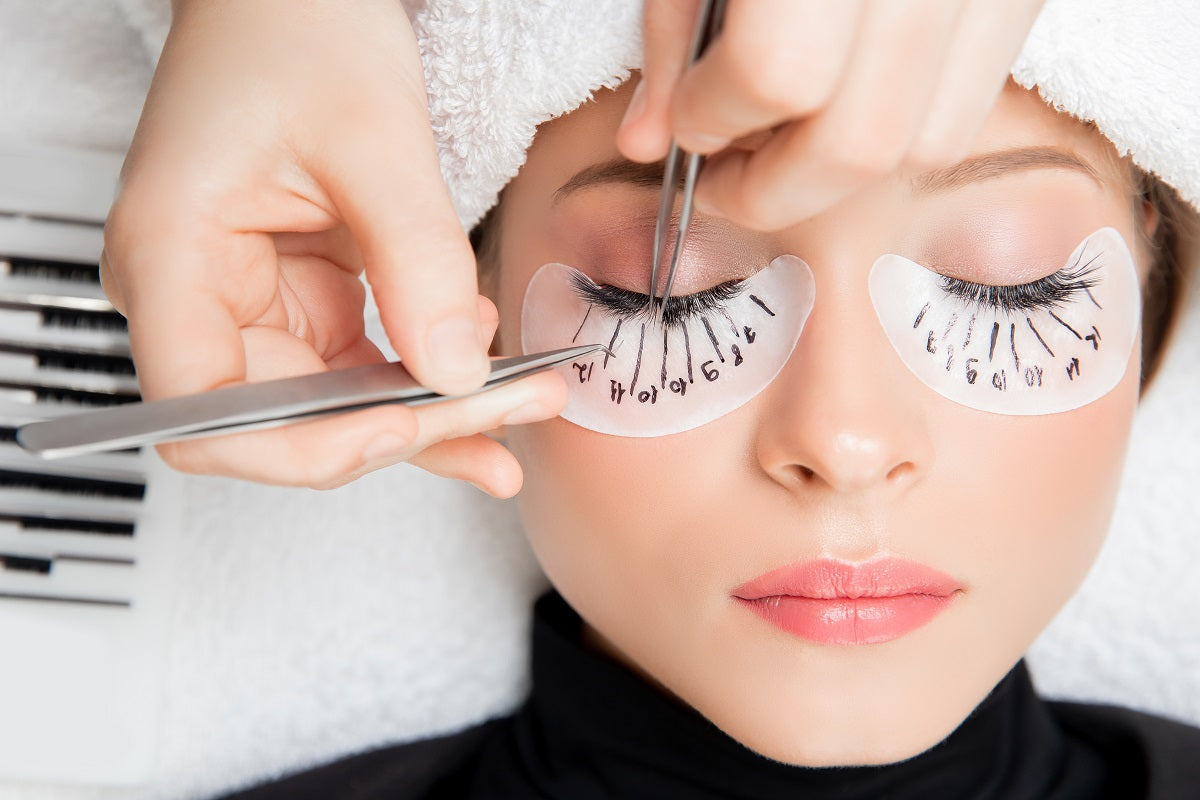
With semi-permanent Lashify Gossamers®, you’ll receive a set of multiple individual lash clumps. You won’t need to trim or bend anything. Instead, you’ll be more focused on placing each small lash where you desire it on the underside of your lash line. This process might be more time-consuming, but the end result will be well worth it.
Take your time, and look in the mirror as you progress. Start by using a gentle cleanser to wash your face before assuming the role of DIY lash stylist.
Take each Gossamer and start from the middle of your eyelid. After applying our lash bond formula to your natural lashes like you would mascara, begin placing each Gossamer as close to your lashes as possible, carefully brushing them into contact after each application.
Once you’ve sufficiently filled your lashes with as much volume and length as you see fit (which might vary based on the shape of your eyes), seal the lashes down with one of our lash seals (again, like mascara) and wait for it to dry down completely. Starting from the middle and working outwards (and, again, taking your time) will ensure you have a stunning final product you’re satisfied with.
Sources:
What's My Eye Shape? (Learn How to Tell Here) | Vision Center
Understanding Different Eye Shapes: Which Do You Have? | NVision
Which Eye Shape Do I Have? What Glasses Are Best? | MyVision

