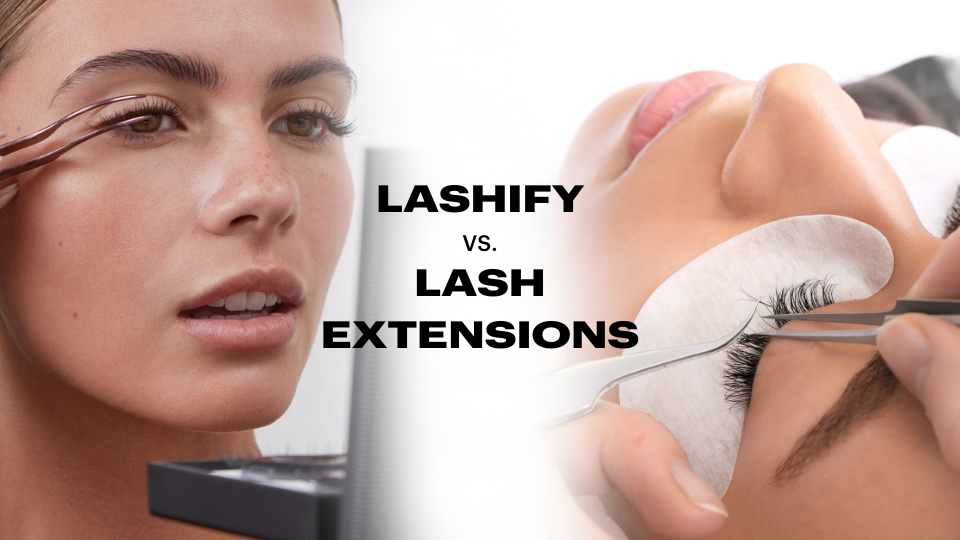
Touching Up Gossamer® Lashes
Often times, when people apply their first set of lashes and think they will immediately get to wear them for a whole week. Let’s set realistic expectations here, people. It’s a brand new way of lashing for you. We recommend planning on wearing them for 1 day for your first few tries. This way you can start to understand the system, the bonds, and placement. After about 2-3 times you will be on your way to longer wear. Once you’re feeling confident and start to increase your wear time, that’s where these tips come into play! Picture this - you’ve tried Lashify-ing a handful of times and now you’re on day 3 of wearing lashes, but start to see your lashes beginning to lift. Have no fear...Lashify touch-ups are part of your aftercare process. Here is what to do when you see a Gossamer® lash begin to lift.
Basic Touch Up
- First thing's first, try fusing the Gossamer® lash back down. Sometimes, the bond is still tacky underneath and your lashes just need a little pressure to become secure again.
- If the lash doesn’t stick with the fuse, then apply a light dot or two of clear Whisper Light® onto the natural lash.
- Allow the clear Whisper Light® to get tacky (using the Blow tool can help speed this up!).
- Fuse the lash back in place.
If you have the Lashicurl® (our amazing heated lash curler) you can also touch up by doing a Heat Fuse™.

- Turn the Lashicurl® onto the 3rd heat seating and let that baby get nice and warm (usually 15-30 seconds)!
- Place the Lashicurl® at the base of the lash for 10-15 seconds. This will reactivate the bond.
- Take your Fuse Control® Wand (without Wandoms®) and fuse down onto the Spine™ base of your lash map. You have now recreated the seal and made your Gossamer® lashes like brand new!
Showering with Gossamer® Lashes
One of the biggest questions people ask is if they can shower while wearing Lashify®. Well, girl, if you’re rocking this lash map for multiple days, a shower is A MUST!!!
When showering, follow these steps:
- Try not to get your face wet in the shower. If you are an avid “wash your face in the shower type of girl”, then things are about to change! It’s okay to get your lashes wet while showering, but keeping them as dry as possible and not allowing the water to hit them directly from the shower head will help you with longevity.
- When washing your hair, tilt your head backward to allow water to run in the opposite direction of your face. This will help with avoiding water hitting your face directly.
- If your lashes get wet, allow them to dry before touching them. If you touch them when they’re wet, you will just be pushing water into the bond and allowing it to begin to break apart. Once they are fully dry, use your Fuse Control® Wand to do any touch-ups (as discussed above!)
Sleeping with Gossamer® Lashes
I must admit, this was my hardest task when I first began with Lashify. I loved to mush my face right into the pillow and would wake up with one Gossamer® lash stuck to my eyebrow and three Gossamer® lashes smushed together. When wearing Lashify, try sleeping on your side or on your back. What helped me the most was purchasing a beauty pillow. This made things so much easier and allowed me to get a nice deep sleep without having nightmares that my Gossamer® lashes were being destroyed! The beauty pillow allows you to stay off your face when sleeping.

Wearing & Removing Makeup

- You can still wear eyeliner and eyeshadow. You can even still wear mascara...ON THE BOTTOM. No need for mascara on your Lashify Gossamer® lashes. If you want a bolder, more mascara-like look you’ll want to either stack or try one of our lash styles that have a thicker fiber (Bs, Ds, or Gs!). Putting mascara onto your Gossamer® lashes will make them less likely to be cleaned and reused (if desired).
- When applying eyeshadow you may get some fallout onto your lashes. If this happens, you can run a clean spoolie that has been dipped into Pre-Cleanse through the top of the lash. Pre-Cleanse is great for aftercare with your lashes because it’s oil-free. You can use Pre-Cleanse on a spoolie daily to cleanse your lashes while you wear them as it will not disrupt the bond!
- When removing eye makeup, I suggest using Pre-Cleanse, our Black Magic Cleansing Puff, or an oil-free makeup wipe. If oils from makeup remover touch your lashes or the bond, it will break them apart and you will not be a happy camper!
Washing Your Face
You’ve removed your makeup, but need to cleanse the rest of your face…..so now what?! No worries, washing your face is as easy as 1, 2, 3.
- Remove face makeup using Pre-Cleanse, our Lashify Black Magic Microfiber Cleansing puff, and an oil-free cleanser or an oil-free makeup wipe.
- Instead of splashing water directly onto your face, use a wet washcloth to wipe the cleanser away. I like to wet the other side of my Black Magic Cleansing puff to remove my cleanser (dual purpose products are my favorite!).
- Apply all the oils, serums, moisturizers, and retinoids you want! Slather your face up and get the oil-slick night time glow we all want! Just be sure that you do not allow these products to touch the lashes and avoid the eye area.
Removing Gossamer® Lashes
New scenario (now that you’re a pro Lashify wearer) -- you're on day 7, you could probably go 2 more days, BUT you’re ready for a new lash map and a fresh set! Here is how you’re going to remove your lashes.
-
Using an oil-based makeup remover or our Melt Away remover you are going to shake some contents onto a cotton round. Place this cotton round onto the lashes (with eyes closed) and allow 30-60 seconds for the bonds to break apart. Open your eye and VOILA, the lashes should slide right off. If they don’t, allow more time for the bond to dissolve.
-
You can also remove your Gossamer lashes using our Release Lash Remover. This remover is great because it is portable and easy for on-the-go removal! Simply brush the Release through the Gossamer® lashes, allow 30-60 seconds and the lashes should slide right off. Again, be sure to remove any excess bond from the natural lash.
- After you’ve removed your lashes be sure to remove any excess bond from your natural lashes. (If you plan on putting a new set on immediately after removal...because who can go a day without lashes...be sure to prep properly with Pre-Cleanse prior to application. You’ll want to remove the oils from the removers to ensure a pain free application.)

Now that you know how to take care of your new lashes, it is your responsibility to join our Lashify® Life Facebook group and SHOW US YOUR LASHES!!!